Are you considering installing your bathroom sink drain on your own? This article is right for you because I will highlight the bathroom sink drain installation mistakes to avoid.
Why? Because it costs a lot of money to install a sink drain by a professional. With some help and practice, anyone willing to do the job can carry out this task.
So, why not be aware of the problems you might face beforehand and the installation process to make this work easier for you? Without delay, let’s get started to help you out.
How to Install Bathroom Sink Drain Properly?

Before pointing out the mistakes people make while installing a bathroom sink drain, it might be helpful to answer how to install a sink drain in the first place. So here we go,
What you’ll need are:
- Sink Drain and P-Trap Kit
- Extension Tube
- Putty
- Pipe Cutter or Hacksaw
- Lock Pliers
- Adaptor
- Silicone Sealant
The method you’ll need to follow: Bathroom Sink Drain Installation Mistakes To Avoid
Step One:
There’s a flat metal rod under the sink. Simply unscrew the nuts of the pivot rod with the lock pliers. After unscrewing the nuts, you can remove the rod and drain plug together.
Step Two:
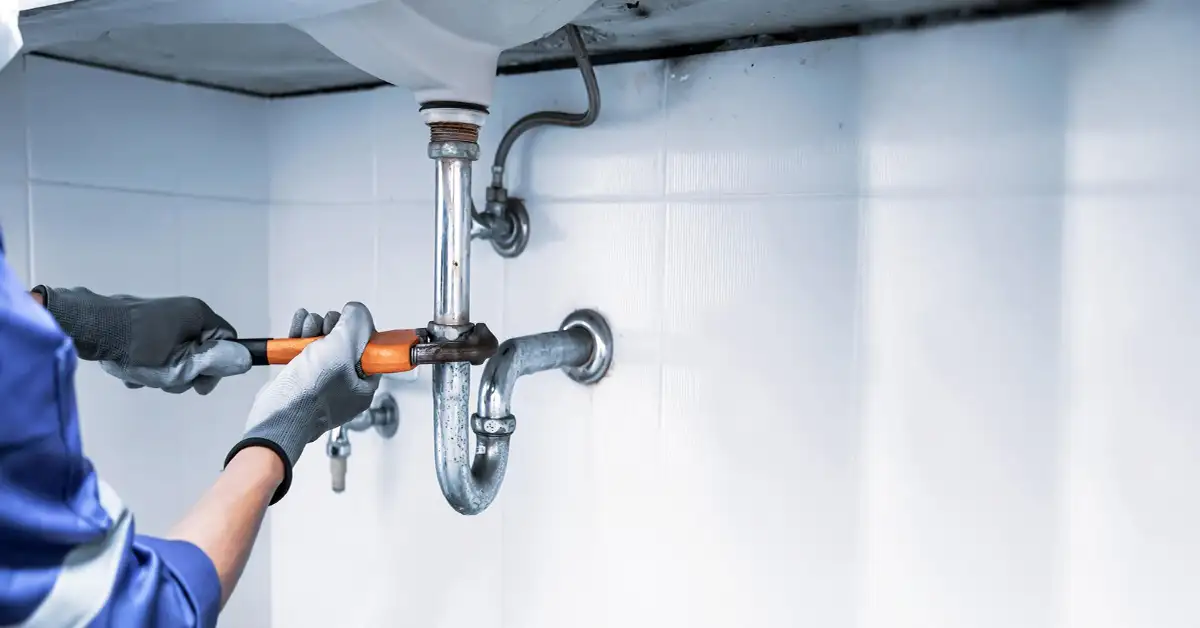
You’ll find the P-Trap under the sink, and it looks like a gooseneck. You need to unscrew the P-Trap from two sides which are under the drain & just near the wall. Use a P-Trap Kit and pliers for the work.
Step Three:
The upper or the visible part of the drain is a flange. You can easily remove it by unscrewing using pliers. But make sure to remove the rubber gasket while you’re at it.
Step Four:
Then, it’s time to do cleaning, as all the drain components are out. Do not leave any dirt, sealant, or grime.
Step Five:
Before inserting the new drain, secure the flange into age using putty. Seal around the drain with the help of a plumber’s putty.
Step Six:
Finally, insert the drain into the sink’s hole after putting in the putty.
Step Seven:
You must install the P-Trap, clevis, and pivot rod. For P-Trap, start by attaching the slip bit to the P-Trap and then connect it to the water line and drain. Apply silicone to make sure the seal is waterproof.
Step Eight:
Then, you’ll have to connect the drain with the pivot rod and clevis. For the last part, add clevis with the faucet behind the water line.
After you’re done with all these steps, do a test run. If there isn’t any leak, you’re good to go.
Common Mistakes While Installing Bathroom Sink Drain: Reasons & Fixes

No matter how tempting installing a bathroom sink drain on your looks, there are some common mistakes people make frequently. That’s why I’m here to highlight those issues so you can avoid repeating them.
Putting Too Much Putty:
To install a bathroom sink drain, putty is used to make the sink leak-proof. However, adding an extra layer may lead to additional protection.
But that’s where they are wrong. Putting too much putty can make the sink sloppy and hamper the fixture.
So, next time you install a new sink, do not overdo it with putty.
Tightening The Connections Too Strong:
It’s true that tightening the screws, pipes, and joints helps. But as said, nothing more than necessary can bring any good. So, if you pull the connections on pipes, when temperatures rise, those connections break and damage the pipes.
Try to tighten the connections of pipes bare-handed next time. It will ensure that damages will not happen even when the temperature rises.
Using Cheap Materials:
When professionals ask for more money for installing bathroom sink drains, it’s generalized thinking of people that if they could just use cheaper materials, it wouldn’t have been so costly.
So, they think, why not do the work ourselves but with less costly materials? That’s where the problem arises. Because cheap materials deteriorate quickly, you might incur more unnecessary replacement costs.
To avoid this problem, always be careful before choosing the materials for the bathroom sink drain.
See Also: How To Do Kitchen Stack Cleaning
Not Having The Necessary Tools:
People who mend their bathroom sink drains on their own try to come up with DIY ideas and use whatever tool they can find inside their homes.
However, having specialized equipment to complete the task correctly would be best.
A lack of proper equipment can result in worsening the problem. It can even lead to improper installation, which will cause drain clogging.
If you need to call in a professional, buy the necessary tools.
Not Putting Traps on Drains:
The U-shaped curves in the drains are traps that prevent odors from entering your house. However, those not professionals think the traps are there to retrieve any items dropping down. So, they don’t put them.
The rest, you know. Odors keep coming from the sewer gasses to your home. So, always put traps as well.
Not Remembering to Turn Off The Water Line:
Sinks and toilets usually have shut-off valves that help you repair the sinks without turning the water off the main line.
Often people forget to turn on the shut valves or turn off the main water line which creates flooding while repairing. So, always remember this hack if you’re going to install the bathroom sink drain on your own.
Using The Wrong Type of Pipe:
For a person who’s not a professional, it’s normal to think that which type of pipe you’re using may not matter. But in reality, that’s not the case.
For example, if you use a galvanized pipe, that means it can lead to corrosion, rotting, and lead poisoning.
So you need to double-check the code of your sink drain and only use the pipe that meets the requirements of the sink drain you’ll be using.
Installing The Pitch Wrong Way:
The slope of your shower pan must be a quarter of an inch per foot. If you make sure of that, the water will be drained and pooled up at the same time.
However, you can use a pre-pitched installation kit to avoid the hassle.
Not Paying Attention To A Cracked Toilet Flange:
Sometimes, when installing a new sink drain, people must pay more attention to whether the pipe connecting the toilet to the drain is cracked. They think it’s not a big deal. But it actually is.
Because, on the one hand, you won’t be able to seal the wax or rubber gasket; on the other hand, leaking will happen. So, buy repair kits and mend the cracked pipes.
Not Installing The Shower Heads In The Right Place:
Many people don’t know you can’t randomly place a short head. The height needs to be eighty inches above the drain. However, this is only the standard height. So, it can be higher for some drains but never lower.
So, always maintain the standard height. Or else you’ll be annoyed with water flowing in the wrong direction.
Not Understanding When To Call Professionals:
Everyone is good at the job they do. Professionals are needed even if we can somehow install a bathroom sink drain.
When people try to fix damage to a pipe, shower, or any parts without calling the professionals, that’s the biggest mistake. Knowing when to stop is the foremost duty of doing jobs alone.
FAQs
How much does it cost to install or repair a bathroom sink drain?
If you do it alone, the materials will take around fifty to sixty-five dollars. If you’re calling a professional, they will charge 100-200 dollars per hour.
How much time is needed to install a bathroom sink drain?
It ultimately depends on experience. But the standard time is 3 to 4 hours.
Which type of pipe should be used for the sink drain?
You can use PVC, Copper, or PEX polypropylene. All three types are suitable to use.
Conclusion
Now that you know how to correctly install a bathroom sink drain, I’m sure you’ve understood which bathroom sink drain installation mistakes to avoid.
You can save a lot of money by carrying out this job without any mistakes. Please comment if this article helps install the bathroom sink drain without issues.
