A water heater is an essential home appliance that makes hot water for many uses. But, like any other technology, water heaters can break down over time. One common problem is a faulty Water Heater Dip tube, which can significantly affect the performance and efficiency of the unit. In this article, we’ll tell you everything you need to know about fixing problems with water heaters, with a focus on how to change a dip tube.
Understanding the Dip Tube in a Water Heater
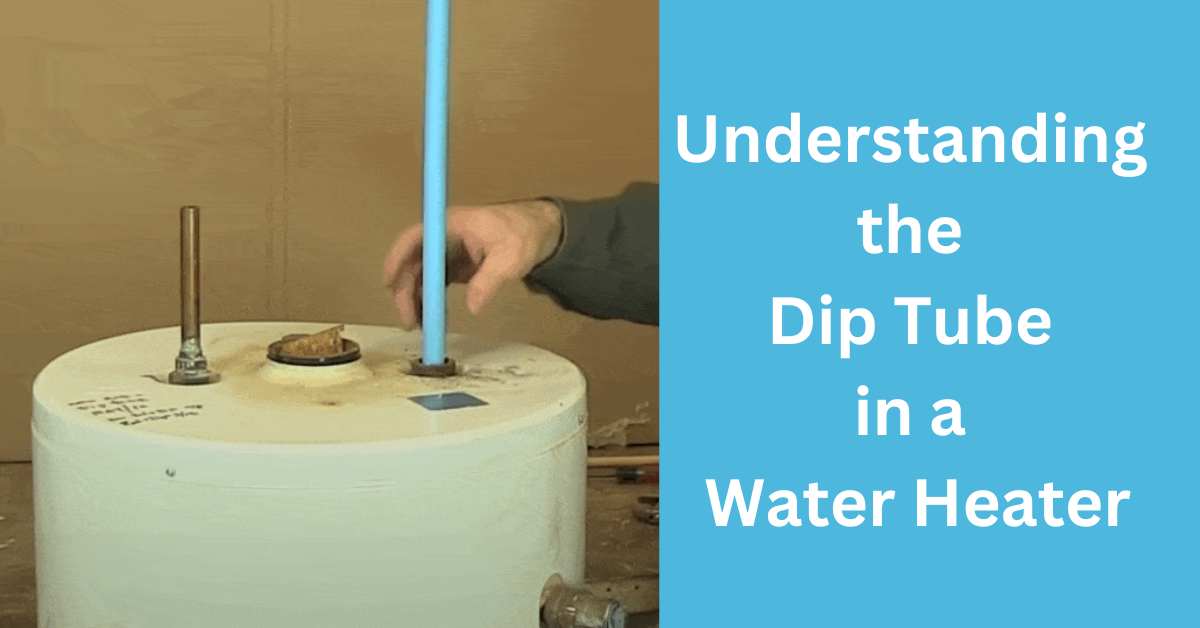
The dip tube is a long, thin tube made of plastic that runs from the top of a water heater to the bottom of the tank. Its primary function is to move cold water from the top of the tank to the bottom, where it can be heated.
As the cold water enters through the dip tube, it pushes the hot water towards the top of the tank, ensuring a constant supply of heated water for your use.
Hot Water Heater Dip Tube Problems
Before attempting to change the dip tube, it’s essential to identify if it is the cause of the problem. Here are some signs that indicate a faulty dip tube:
- Insufficient hot water supply: If you notice a decrease in hot water availability, it could be due to a broken or deteriorated dip tube.
- Lukewarm water: When the dip tube is damaged, cold water may mix with the hot water supply, resulting in lukewarm water from your faucets or shower.
- Sediment accumulation: If the dip tube is worn out, it can break apart, causing small plastic pieces to enter the hot water supply. This can lead to sediment buildup in faucets and showerheads.
Tools and Materials Needed
Before you begin replacing the dip tube, gather the following tools and materials:
- Adjustable wrench
- Screwdriver
- Replacement dip tube (specific to your water heater model)
- Teflon tape
- Towels or rags
See Also: Low Water Pressure in House: Causes, Solutions, and Expert Tips
Step-by-Step Guide to Changing a Dip Tube
Follow these steps to change the dip tube in your water heater:
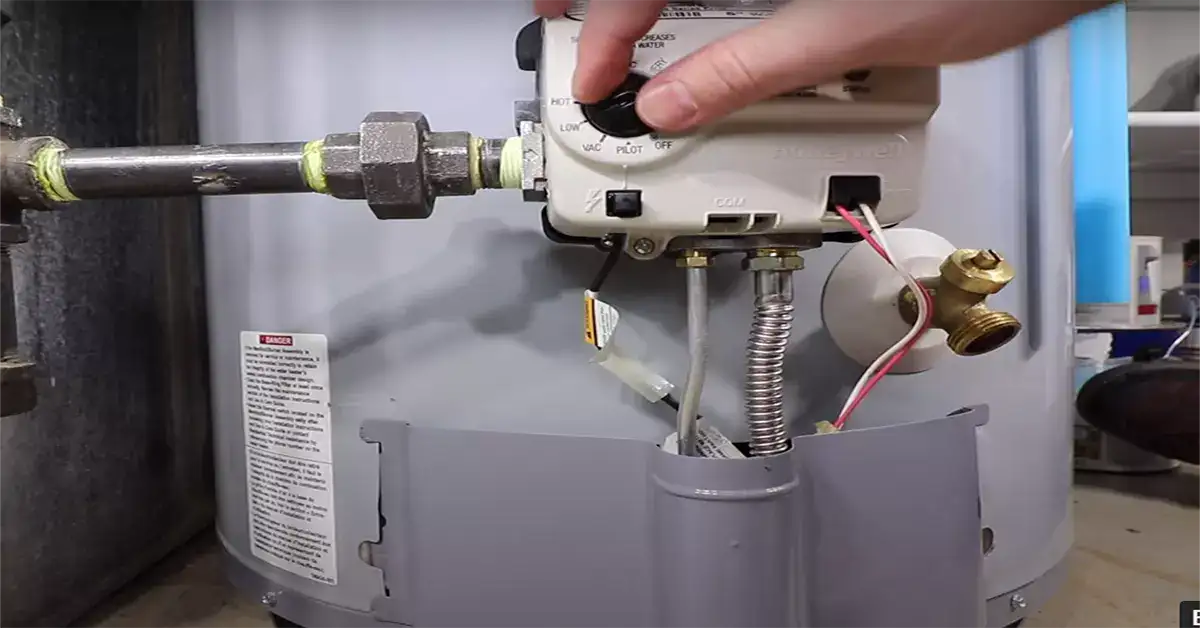
Step 1: Safety First
Before you work on your water heater, turn off the gas or electricity and, if necessary, the power source.
Step 2: Drain the Tank
Connect a garden hose to the bottom of the tank’s discharge valve. Put the other end of the hose where it can drain well, like a floor drain or outside. Open the drain valve and let the entire tank drain.
Step 3: Find the tube.
The dip tube is usually on the top of the water heater near where the hot water comes in. Use your flexible wrench to take the cold water line off the top of the water heater.
Step 4: Remove the Old Dip Tube
Carefully remove the old dip tube by unscrewing it from the cold water inlet. Some dip tubes may be held in place with a retaining nut, which you must also remove.
Step 5: Install the New Dip Tube
Apply Teflon tape to the threaded end of the new dip tube to ensure it is watertight. Put the new dip tube into the cold water intake and screw it into place. If there is a retaining nut, reinstall it and tighten it securely.
Step 6: Reassemble and Test
Reconnect the cold water line to the water heater and ensure all the connections are tight. Please turn on the water and wait for the tank to fill up. Check for any leaks around the dip tube and connections.
Step 7: Restore Power
If you have turned off the power supply, safely restore it once the tank is filled with water.
See Also: How To Flush A Toilet Without Running Water
Additional Tips for Maintaining a Water Heater
To keep your water heater running smoothly, consider the following tips:
- Flush the tank annually to remove sediment buildup and ensure optimal performance.
- Insulate your water heater and pipes to save energy and keep heat from leaving.
- Set the thermostat to a reasonable temperature (around 120 degrees Fahrenheit) to avoid scalding and save energy.
- Regularly check for leaks, especially around fittings and valves, and promptly repair them to avoid water damage.
Conclusion
This article discussed the importance of the dip tube in a water heater and provided a step-by-step guide on changing a faulty dip tube. Following the care instructions and tips ensures your water heater works well and gives you a steady hot water supply.
FAQs
1. How often should I change my water heater’s dip tube?
The dip tube doesn’t typically require regular replacement unless it becomes damaged or deteriorated. If you experience issues with the hot water supply or notice signs of a faulty dip tube, consider replacing it.
2. Can I change the dip tube or hire a professional?
You can change the dip tube if you have basic plumbing skills and feel comfortable working with water heaters. But if you’re unsure what to do or would rather have a professional help you, you should always call a licensed plumber.
3. Are all dip tubes the same?
No, dip tubes are not universal. Depending on the water heater model, they vary in length, size, and design. Make sure that when you buy a new dip tube, it works with your water heater.
4. Can a faulty dip tube cause damage to the water heater?
While a faulty dip tube itself may not cause severe damage to the water heater, it can lead to reduced efficiency and other issues. It’s essential to fix a broken dip tube if you want it to work well and avoid more problems.
5. What are some other common problems with water heaters?
Aside from dip tube issues, common water heater problems include a faulty thermostat, heating element failure, gas valve problems, and sediment buildup. With regular upkeep and quick repairs, you can avoid these problems and make your water last longer.